
Summary: If your iPhone passcode isn’t working, try restarting your device, ensuring you’re typing correctly, or resetting your passcode via Apple’s recovery options. These quick fixes usually resolve the issue without data loss.
It can be incredibly frustrating when your iPhone passcode suddenly stops working. You know you’re entering the right numbers, but your iPhone stubbornly refuses to unlock. This common hiccup can feel like a major roadblock, especially when you need to access your messages, photos, or important apps.
Don’t worry! This situation is often easier to fix than you might think. We’re here to guide you through simple steps that can get your iPhone unlocked and back in your hands in no time. Let’s turn that tech stress into tech success.
Why Your iPhone Passcode Might Not Be Working
Several things can cause your iPhone passcode to stop working. Sometimes, it’s as simple as a temporary software glitch. This can happen after an iOS update or even just from running the device for a long time without a reboot.
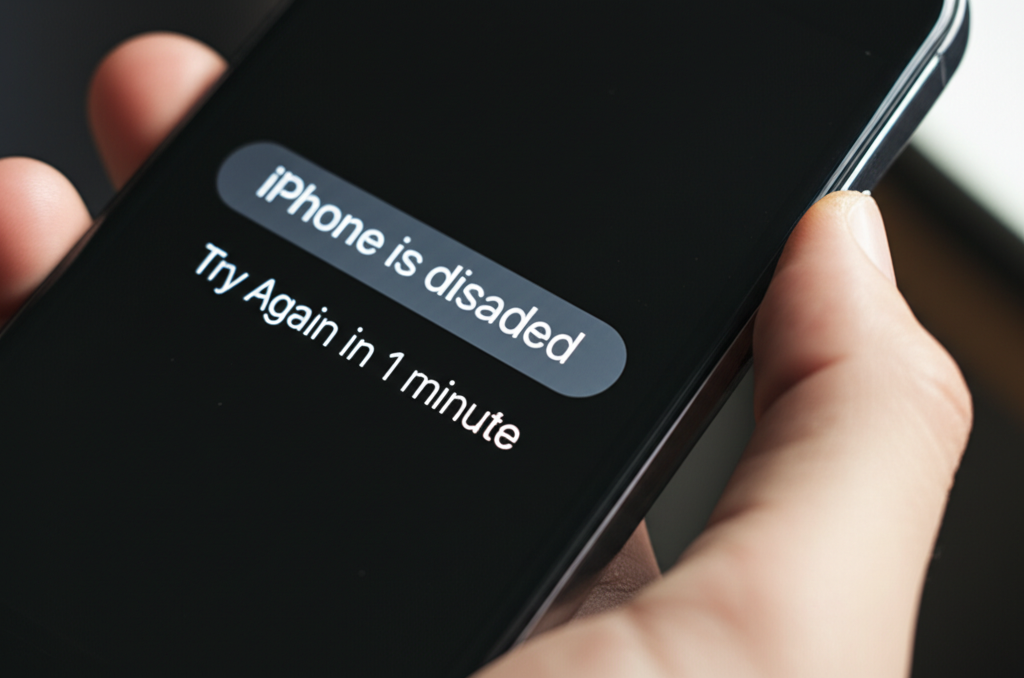
Other times, there might be a physical issue with the screen, making it difficult for your iPhone to register your touches correctly. In rare cases, persistent incorrect attempts can temporarily disable your iPhone, showing a “iPhone Unavailable” or “Security Lockout” message.
Understanding the ‘why’ can help you choose the right ‘how’ for fixing it. We’ll explore the most common reasons and their solutions, making it simple to get back into your device.
Quick Fixes to Try First
Before resorting to more drastic measures, let’s try some easy solutions that often do the trick. These are designed to be quick, simple, and suitable for anyone new to troubleshooting their iPhone.
1. The Gentle Restart: Your First Line of Defense
A simple restart can solve many temporary software glitches that might be preventing your passcode from being accepted. It’s like giving your iPhone a quick nap to clear its head.
To restart your iPhone:
- For iPhones with Face ID (iPhone X and later): Press and hold the side button and either volume button until the power off slider appears. Drag the slider, then wait for your iPhone to turn off. After it turns off, press and hold the side button again until you see the Apple logo.
- For iPhones with a Home button (iPhone SE, iPhone 8 and earlier): Press and hold the top (or side) button until the power off slider appears. Drag the slider, then wait for your iPhone to turn off. After it turns off, press and hold the top (or side) button again until you see the Apple logo.
Once your iPhone has restarted, try entering your passcode again. You might be surprised how often this simple step resolves the issue.
2. Check for Screen Issues: Is it You or the Screen?
Sometimes, the problem isn’t with your passcode, but with how your iPhone is registering your touch. A dirty screen or a screen protector that’s not adhering well can sometimes interfere with touch input.
- Gently clean your iPhone’s screen with a soft, lint-free cloth.
- If you have a screen protector, ensure it’s properly aligned and not peeling off at the edges. Try removing it temporarily to see if that makes a difference.
- Make sure your fingers are clean and dry.
3. Slow Down and Double-Check
It sounds obvious, but when we’re stressed, we can easily mistype. Take a deep breath and carefully re-enter your passcode. Ensure you’re pressing the correct numbers and in the right order.
If you recently changed your passcode, try the old one to ensure you’re not mistakenly entering the previous code. Sometimes, a brief moment of concentration is all it takes.
4. Ensure Your iPhone is Up-to-Date (If Possible)
While you can’t update iOS if you’re locked out, if you were having occasional issues before being locked out, ensuring your iPhone is running the latest compatible iOS version can sometimes prevent bugs. If you got locked out, the next steps will involve updating iOS as part of the recovery process.
When Passcode Entry Fails: Recovering Access
If the quick fixes didn’t work, it’s time to look at recovery methods. These involve deeper steps that allow you to regain access to your iPhone, and in some cases, reset your passcode entirely. Apple provides official, secure ways to do this.
1. Recovery Mode: The Official Path to Reset
If you’ve entered your passcode incorrectly too many times, your iPhone might display a message like “iPhone Unavailable” or “Security Lockout.” In this situation, your iPhone temporarily disables passcode entry to protect your data. The solution is to put your iPhone into Recovery Mode and restore it.
Important Note: This process involves erasing all content and settings on your iPhone, including your passcode. You will then be able to set up your iPhone as new or restore from a recent backup. This is why having regular backups (using iCloud or your computer) is so important!
Here’s how to enter Recovery Mode and restore your iPhone:
- Connect to a Computer: You’ll need a Mac or a PC with Finder or iTunes. If you don’t have access to a computer, you can borrow one from a friend or family member.
- Place iPhone in Recovery Mode: The exact steps vary slightly by iPhone model.
- iPhone 8 or later: Quickly press and release the Volume Up button. Quickly press and release the Volume Down button. Then, press and hold the Side button until you see the recovery mode screen (a computer icon with a cable).
- iPhone 7 or iPhone 7 Plus: Press and hold the Side button and the Volume Down button simultaneously until you see the recovery mode screen.
- iPhone 6s or earlier: Press and hold both the Home button and the Top (or Side) button simultaneously until you see the recovery mode screen.
- Restore Your iPhone: On your computer, when you see a message asking you to Restore or Update, choose Restore. This will download the latest software for your iPhone and erase all your data.
- Set Up Your iPhone: Once the restore is complete, your iPhone will restart. You can then set it up as new or restore from a recent backup. You’ll be prompted to create a new passcode during the setup process.
For detailed, model-specific instructions, Apple’s support page is an excellent resource: Apple Support – If you forgot your iPhone passcode.
2. Using iCloud’s “Find My” Feature: A Remote Solution
If you have “Find My iPhone” enabled on your device, you can remotely erase your iPhone and then restore it from a backup. This is a great option if you’re away from a computer.
Here’s how to use “Find My” to erase your iPhone:
- Go to iCloud.com: Open a web browser on any computer or a different device and go to icloud.com/find.
- Sign In: Log in with your Apple ID and password.
- Select Your iPhone: Click on “All Devices” at the top of your screen and select the iPhone that is locked.
- Erase iPhone: Click on “Erase iPhone.” Confirm your decision. Your iPhone will be remotely erased.
After your iPhone is erased, you can set it up as new. If you have an iCloud backup, you can restore your data and settings from that backup during the setup process. This will allow you to set a new passcode.
3. Using a Computer with iTunes/Finder: Another Computer Option
Similar to Recovery Mode, your computer’s Finder (on macOS Catalina or later) or iTunes (on older macOS or Windows) can be used to restore your iPhone if you’ve forgotten your passcode. This method also erases your device.
- Connect your iPhone to your computer.
- Open Finder or iTunes.
- If your iPhone appears in Finder/iTunes: Select your iPhone when it appears. Then click “Restore iPhone.”
- If your iPhone does not appear: You will need to put your iPhone into Recovery Mode, following the steps outlined in the “Recovery Mode” section above. Once in Recovery Mode, Finder/iTunes will prompt you to restore.
This process will download the latest iOS and restore your iPhone to its factory settings. After the restore, you can choose to set it up as a new device or restore from a backup. Again, creating a new passcode will be part of the setup.
What to Do After Accessing Your iPhone
Once you’ve successfully accessed your iPhone again, it’s important to take a couple of steps to prevent this from happening in the future and to ensure your data is safe.
1. Create a New, Memorable Passcode
When you set up your iPhone again, you’ll be prompted to create a new passcode. Consider using a passcode that is:
- Unique and not easily guessed (avoid birthdates, simple sequences like 1234, or repeating numbers).
- Easy for you to remember.
- If your iPhone is capable, consider using a longer passcode (6 digits instead of 4) for increased security.
2. Enable Face ID or Touch ID
For enhanced security and convenience, enable Face ID or Touch ID if your iPhone supports it. These biometric authentication methods are fast, secure, and can sometimes be more reliable than remembering a passcode.
- Go to Settings > Face ID & Passcode or Settings > Touch ID & Passcode.
- Follow the on-screen instructions to set up your Face ID or fingerprint.
3. Regularly Back Up Your iPhone
This is crucial. Having recent backups ensures that even if you need to erase your iPhone, you won’t lose your precious photos, contacts, messages, and app data.
- iCloud Backup: Go to Settings > [Your Name] > iCloud > iCloud Backup. Tap “Back Up Now” to create an immediate backup. Ensure “iCloud Backup” is turned on to back up automatically when connected to Wi-Fi and power.
- Computer Backup: Connect your iPhone to your Mac or PC and use Finder or iTunes to create a backup of your device.
Regular backups are your safety net. They empower you through situations like a forgotten passcode or needing to replace your device.
Understanding iPhone Lockout Timers
When you repeatedly enter an incorrect passcode, your iPhone will begin to lock you out for increasing amounts of time. This is a built-in security feature to protect your data from brute-force attacks. It’s important to understand how these lockouts work.
| Incorrect Passcode Attempts | Lockout Duration |
|---|---|
| 1–4 times | No lockout |
| 5 times | iPhone unavailable – try again in 1 minute |
| 6 times | iPhone unavailable – try again in 5 minutes |
| 7 times | iPhone unavailable – try again in 15 minutes |
| 8 times | iPhone unavailable – try again in 1 hour |
| 9 times | iPhone unavailable – try again in 1 hour (may need to connect to computer) |
| 10 times | iPhone Unavailable / Security Lockout – requires restore |
As you can see, after 10 incorrect attempts, your iPhone will essentially disable passcode entry altogether, requiring a restore through Recovery Mode or Find My to regain access. This is why knowing your passcode, or having a reliable backup and recovery plan, is so important.
When to Seek Professional Help
While most passcode issues can be resolved with the steps above, there are instances when you might need a little extra help. If you’ve tried all the recovery methods and are still locked out, or if you suspect a hardware issue with your iPhone’s screen, it’s time to contact Apple Support.
You can reach out to Apple Support online, via phone, or make an appointment at an Apple Store or Apple Authorized Service Provider. They have the tools and expertise to diagnose more complex problems and guide you through the restoration process.
Remember, Apple’s priority is your data security. They will verify your identity before performing any actions that could affect your device’s data.
FAQs
Here are some frequently asked questions to further clarify common concerns:
Q1: Will erasing my iPhone delete everything?
A: Yes, performing a restore via Recovery Mode or “Find My” will erase all content and settings on your iPhone, including your passcode, photos, apps, and data. However, if you have a recent backup (iCloud or computer), you can restore this data back onto your iPhone after the erase process.
Q2: Can I recover my old passcode if I forget it?
A: No, Apple’s security is designed so that passcodes are not stored in a way that can be recovered. This is to protect your privacy. The only way to regain access if you’ve forgotten your passcode and your device is locked is to erase the device and set it up as new or restore from a backup.
Q3: My screen is broken and I can’t enter my passcode. What should I do?
A: If your screen is unresponsive or broken, you will likely need to connect your iPhone to a computer and use Recovery Mode to restore it. If the screen is too damaged to even navigate into Recovery Mode, you may need to take it to an Apple Store or authorized service provider to have the screen repaired or replaced first.
Q4: I don’t have a computer. Can I still fix a forgotten passcode?
A: Yes! If you have “Find My iPhone” enabled, you can use any web browser on another device or computer to go to iCloud.com and erase your iPhone remotely. Alternatively, you can borrow a computer from a friend or family member to use Finder or iTunes.
Q5: How long does it take to restore an iPhone?
A: The restore process typically takes anywhere from 15 minutes to an hour, depending on the speed of your internet connection (for downloading the iOS software) and the speed of your computer. The actual installation of the software on the iPhone is relatively quick once downloaded.
Q6: What’s the difference between Update and Restore in Recovery Mode?
A: When you connect your iPhone to a computer in Recovery Mode, you’ll see options to “Update” or “Restore.”
Update: Attempts to reinstall iOS without erasing your data. This might fix a software glitch preventing passcode entry, but if you’re locked out, it often fails.
Restore: This option completely erases your iPhone, installs the latest iOS, and returns it to factory settings. This is the guaranteed way to remove the forgotten passcode, but it erases all data if you don’t have a backup.
Conclusion
Experiencing an iPhone passcode issue can feel daunting, but as we’ve seen, it’s usually a solvable problem. From simple restarts to utilizing Apple’s robust recovery tools, you have a clear path to regaining access to your device.
Remember, the key to smoothly navigating these situations is preparation: consistent backups via iCloud or your computer, and understanding how to use “Find My” or Recovery Mode. These practices not only fix forgotten passcodes but also secure your digital life.
By following the steps outlined, you’ve empowered yourself with the knowledge to handle this common annoyance. Your iPhone is an extension of your life, and now you know how to keep it accessible and secure. Keep exploring, keep creating, and most importantly, keep your passcode handy!